Why every guitar player should want a well set-up instrument.
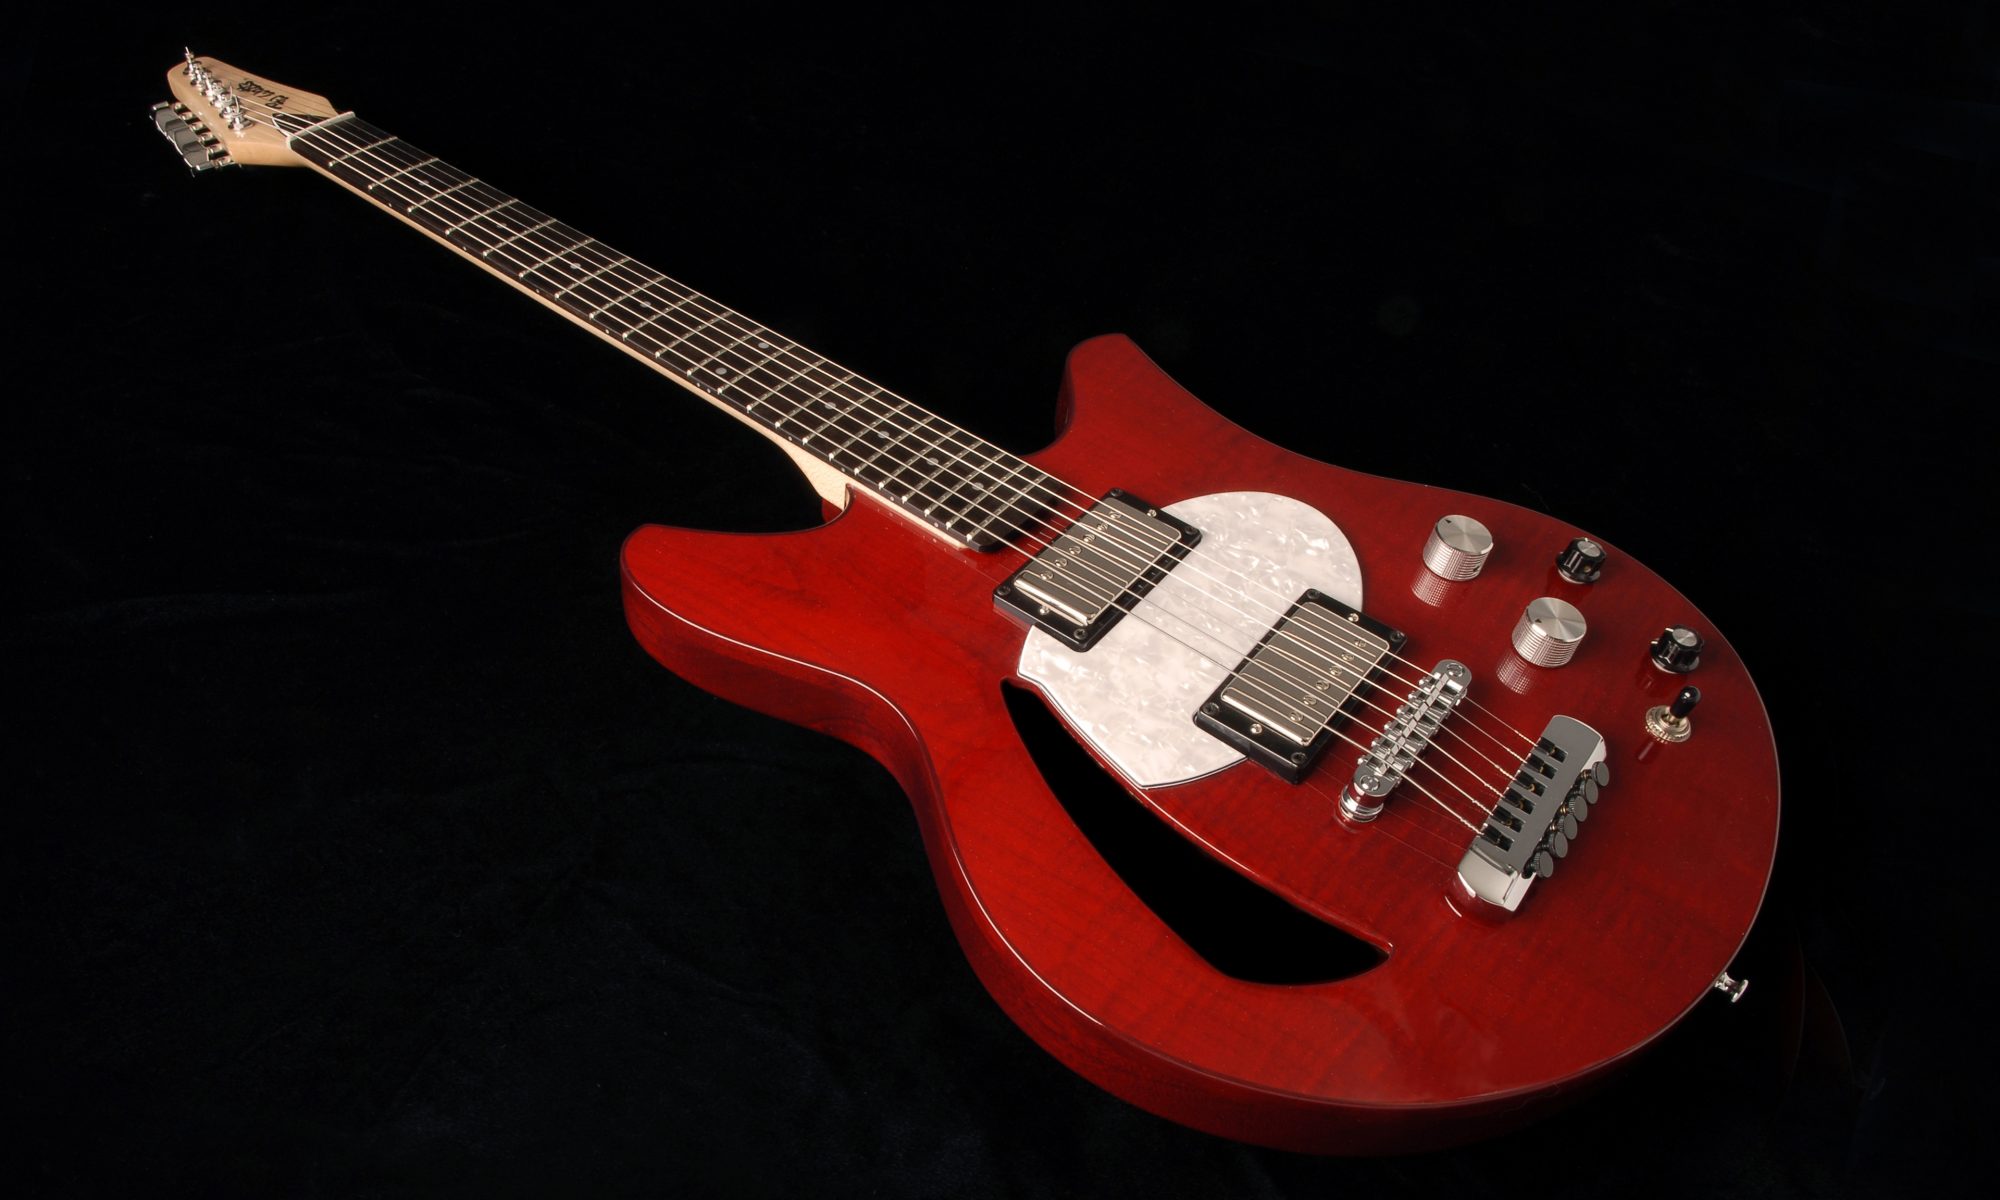
Just like a well-tuned automobile, a well set-up guitar works better, and while we all know when our car is running poorly, a lot of guitar players, especially newer and younger ones, don’t know that their guitar is set-up poorly. I think it starts with one’s first guitar. Most people, whether a parent for a child, or an individual who’s older but wanting to learn to play, may prefer to buy a cheaper instrument than a more expensive one for the obvious reason, what if he, or she doesn’t take to the instrument and doesn’t learn how to play? Won’t that just be money wasted? Sadly, the prophecy often becomes self-fulfilling, because cheap guitars are almost never set-up well when they come from the factory, are therefore not easy to play to achieve satisfactory sound, and lead to joy killing frustration. All this, and the beginner never even knew that much of the problem was because of poor set-up of the instrument. One of things I’ve learned over many years is that while a good player can make a mediocre instrument sound good, the beginner, if possible, should learn on a good instrument. The rewards of practice will come much more quickly. That said it is also a sad truth that even long time players are often ignorant of how to make the adjustments to their instruments to allow them to play better. So, a little primer on what a guitar is and isn’t, and then the theory of how to improve playability. I’ll stick to acoustic guitars for now (maybe do electrics another time, though the theory is the same.)
The guitar is essentially a set of strings stretched taut and passing over two fulcrum points (the”nut” at the top end, and the “saddle/bridge” at the bottom end) connected to a resonating chamber that acts much like a loudspeaker by taking string vibrations, amplifying them, and returning them to the air through the sound-hole. The guitar itself is really “played” between the fulcrum points, on the neck, where the neck is divided by frets that are spaced to create harmonically pre-determined intervals (it’s a mathematical formula.) All fretted string instruments, to a point, share these mechanics.
String pitch is determined by 3 things: string tension; string thickness or gauge; and string length. String tension is somewhat pre-determined as being not too slack, nor too taut, but “just right” so to speak. There is an actual tension range, but it is not too important to know, because it also interacts with string gauge, or thickness. As the tension on each individual string of a guitar is roughly the same, the thicker the string, the lower the pitch. Where the guitar soars, say compared to a harp, is that the frets allow individual strings to be shortened in comparison to the overall distance between the original fulcrum points (nut -to- saddle/bridge) with the fret becoming a new fulcrum point when the string is depressed to meet it. Harps, and pianos for that matter, have multiple strings that are set to individual single lengths, and only those lengths, and therefore will produce a singular tone per string plucked or hammered when tuned to pitch. (If a piano has 88 keys, there are 88 courses, or sets, of strings. Each key activates a little felt covered “hammer” that strikes their own course of strings and those strings only to create a tone. An 88 key piano has an effective range of 7 octaves, while a guitar with only 6 strings has an effective range of almost 4 octaves.) A guitar, by verity of being able to performatively shorten the length of each string when playing by depressing the string to a fret and creating a new effective string length, allows multiple pitches from single strings as the “fretting” continuously creates new “scale lengths”. This allows for the creation of (movable) chords – one of the beautiful wonders of the instrument. This is the basic mechanics of how the guitar is played.
The guitar is built, usually and traditionally from wood, so that all of the above “playability” can be accomplished. The neck of the guitar needs to be stiff enough to resist the tension pull of the strings, but slender enough for the hand to easily grip and allow the fingers to depress the strings to create new notes. The bridge needs to be firmly and structurally connected to the resonating chamber (the body) to allow for the projection of sound, as it is the bridge which transports the vibrating string tone to the top of the guitar body, which acts as a large diaphragm driving the converted wavelength of sound to bounce off the back of the guitar body and be projected back through the sound hole. Pretty neat when you think about it, and proper “set-up” is what allows all this to happen with the most ease of playability. That in turn helps the player become more fluid in his/her playing, and helps move music-making from the realm of “how do I get the guitar to make a good sound” to “wow, if I can think it, I can play it.” Ultimately, that’s what the musician wants, right? They want their playing to be so fluid and unthinking that it allows the brain/hands to take over and become one with the instrument and guide it as an extension of one’s thought processes. Sheer beauty!
Ok, so much time and effort, and practice, practice, practice is needed to get to that point, but having a well set-up instrument is the first step in making that as easy as possible to achieve. So what can be adjusted or improved upon to make this happen?
Let’s look at everything in-line with the vibrating string, from the tuning gears at the headstock end, to the bridge connection on the body, and see what adjustments are possible to make. These would include: tuning gears / nut / neck – including neck relief and frets and truss rod/ saddle&bridge/ and of course, strings.
Let’s start with the neck/fretboard. The idea is that you want to start with a straight neck, kind of like a flat roadway that starts at the nut at the headstock end and heads off towards the saddle/bridge. In a way, it’s almost like a suspension bridge with the nut being a fulcrum/tower at one end, and the saddle, which sits atop the bridge, as a fulcrum/tower at the other end, and the guitar strings are the cables that run between the two. At the saddle/bridge end, the strings are anchored to the guitar top by the “ball end” of the string going through holes in the bridge and being held in place by bridge pins. At the other end, the tuning gears pick up the slack in the strings as they are tightened and bring the strings to tension.
As the strings are wound taut, they exert quite a bit of force on the neck, and have a tendency to pull the neck upward, creating a slight back-bow (center of the neck bowing downward) in the fretboard as we sight down it (like a smile if viewed from the side). This is much like an archer’s bow, when you think about it, where as you increase the tension on the string, the greater the flex in the bow.
Before we can do any fine tuning adjustments, we need to get the neck back to relative straightness, which is accomplished by removing the truss rod cover at the headstock, inserting the correct allen wrench in the truss rod end-nut, and cranking clockwise (or to the right as you face the end-nut) until the neck begins to flatten out again. The truss rod, as it is tightened, applies a reverse pressure to the neck that is meant to counteract the upward pull of the taut strings. When you start meeting resistance to tightening, apply about 1/8th of a turn at a time, and let everything rest for a few minutes to allow the wood to adjust to the reverse pressure of the tightened truss rod. (The neck could conceivably have an up-bow which would indicate that the truss-rod is too tight and forcing the neck to curve too far in the wrong direction [forcing the center of the neck up and pushing the headstock end down, like a frown if looked at from the side], but this is rare.)
Continue with this routine until the neck looks straight as you sight down the length of the fretboard (or as straight as you can get it – you can lay a straight edge along the tops of the frets to help get a sense of how straight the neck is). There are further adjustments that one can do to fine tune this adjustment, and in fact, a slight upward bow to the neck is desirable, but this is a subtle adjustment that will require deft use of either a feeler gauge or dial caliper to make .001” measurements, so we’ll leave this for later in the discussion. This at least gets us to the starting point where we can start making our other adjustments.
One way to improve intonation of the guitar is to use quality tuning gears. Most tuning gears that come standard on the guitar are quite adequate, but I personally like to use tuners that have a higher gear ratio (18:1 or higher). The higher gear ratio allows one to more easily and precisely dial in correct intonation of each string, as each turn of the tuner knob moves the winding post less distance and more accurately. Make sure you have enough windings of string around the tuner post (3 – 5ea. w/larger gauge strings fewer and thinner gauge strings more) to make sure that the string supplies enough friction against itself as it is wound to keep the string from slipping while tightening.
Strings should move smoothly through their slots on the nut during the tightening process. If they do not, or are too loose in an overly wide slot, each offending slot should be adjusted (sometimes a little graphite from a sharp pencil lead can lubricate the slot enough for the string to move smoothly if it is too tight in its slot). The backward slant of the headstock (or string trees on flat offset headstocks as on most Fender guitars) supplies the downward force on the strings to make the nut function effectively as a fulcrum point. The back edge of the nut should be rounded over to allow for easier tensioning as the string is pulled downward towards the tuning gear, while the front edge of the nut should be crisply and squarely vertical to the fretboard. It is the front edge of the nut which produces the fulcrum point, and it is between that front edge and the saddle/bridge that all scale length measurements are made.
Besides a well seated nut, the other thing the nut does, in concert with the saddle/bridge, is hold each string at a specific height above the frets. Most often, when guitars come from the factory, the strings are set too high above the frets, which has the unfortunate consequence of making each note harder to play and ultimately harder to keep the guitar well intonated throughout the playing scale. Time for a little theory and reasoning on making the necessary adjustment.
Each guitar has a “scale length”. Every manufacturer has a favorite they use on their instruments. Gibson has used several different ones over the years, as has Martin. The scale length could be anything, but most makers have settled on scale lengths that fall somewhere between 24¾” and 25½” – mostly for esoteric reasons that revolve around the “voicing” range of the guitar and the interval spans that the human hand can easily cover while fretting the instrument. The scale length is nominally measured from the front edge of the nut to the apex of the saddle atop the bridge.
In a perfect world, that scale length would be perfectly immutable, and the distance from the fulcrum point of the nut to the fulcrum point of the saddle would be exact for all strings and for all playing positions, but the reality of differing string gauges and the nature of fingering/depressing the strings to the fretboard changes things. In the case of increasing diameter (gauge) of strings, that increased circumference has to be accounted for. Likewise, depressing the string to the fretboard during the act of playing the instrument incrementally stretches the string, both increasing the length of the string and causing it micro-tonally to play “sharp” as the tension on the string is increased. The adjustment for this is that the saddle is both set back further from the “theoretical scale length” distance by about 3/32nd” – 1/8th”, and angled diagonally slightly from treble to base side. Thus a theoretical scale length of say, 25.5”, will most likely be closer to 25.625” on the high E string and 25.78”on the low E string. Intonation must be consistently “on-scale/on-pitch” as one plays up the string from nut to saddle as well as across the strings and frets from high E to low E.
Since this also is more in the realm of theoretical than achievable perfection, the amount of distortion of each string as it is “fretted” can be minimized by keeping string deflection in check as much as possible. This is done by “lowering the (playing) action” of each string – that is lowering the height of each string as it sits above the frets, without going too low. Besides keeping string deflection to a minimum, it has another practical application of increasing the “speed” of playing action. This comes about because as you move the strings closer to the frets, the amount of finger pressure required to depress the strings to the fretboard is lessened,
allowing the player to move up and down the neck more quickly. Lowering the string action is accomplished at both the nut and the saddle ends of the equation, but first a word on fret intervals, i.e. the distance between frets.
Simple physics tells us that, in the case of a string stretched taut, that if we were to create a string half the length, the sound produced when plucked would be an octave higher than the sound of the plucked, open, longer string. Each fret on the fretboard produces a new fulcrum point for the depressed string and thus essentially producing a new shorter scale length for that string. If depressing the guitar string at the halfway point of its scale length has the effect of raising the tone an octave, then that halfway point becomes the location of the 12th fret. While the name would seem to belie it, there are in fact 12 tones in an octave in the Western cultural tradition of music. This would include all whole and half tones (sharps and flats). If the 12th fret is the halfway point of the scale length, then all tones in the octave below (towards the nut) and subsequent octaves above (towards the saddle) are arrived at by mathematical formula to determine placement of the frets. What’s noticeable is that all intervals between frets begin to measure less and less as one moves progressively up the fretboard, and above the 12th fret, those distances get narrower and narrower to the point of impracticality above the 21st or 22nd fret. This simple fact provides one last obstacle for adjusting our guitar for better playability.
We want to lower the string action as much as is practical to achieve more reliably accurate intonation, but the simple act of playing, that is depressing the string to the fret, means that to get a clear tone from the shortened string, the string has to “clear” the frets in front of it (towards the saddle-end) to keep from inadvertently rubbing another fret (usually the one right next to it) and creating a buzzing sound. As the fret intervals become narrower, especially above the 12th fret, this becomes harder to do. The way to adjust for this is twofold. In essence, the guitar strings travel in a slightly uphill slope from the nut to the saddle, and a slight “back bow” is introduced into the neck.
One can imagine that when depressing a string you are creating a kind of triangle where the distance along the fretboard from the fret to the saddle is one leg in a right triangle, the height of the saddle/bridge is the short leg of a right triangle, and the depressed string is the hypotenuse of that right triangle. As you move up the fretboard while playing, that hypotenuse becomes shorter, and the included angle becomes larger as the dimensions of the “triangle” become compressed. That included angle created where the string meets the fretboard has to be only large enough to allow the depressed string to clear the next fret in front of it. We can generally achieve this by raising the height of the saddle. On the other hand, we don’t want to raise the saddle too much. In a perfect world, again, the height that the strings are held off the fretboard by the nut at the headstock end would be the same at the saddle end, creating a perfectly parallel set of lines of strings above the fretboard. In practice, it doesn’t work that way, and we need just a little extra height as we move up the fretboard to get the string clearance that will give us clear, ringing tones to the strings. Raising the saddle gives us part of that, and inducing a slight back bow in the neck (.002” – .004” when measured at the eighth fret) gives us the other part.
Remembering that we started by cranking the neck truss rod sufficiently to give us a flat fretboard, string up the instrument to relative playing tension. To accurately measure neck relief (back bow), capo the strings at the first fret, depress the low E string at the last fret, and with a free hand (or a helper), using feeler gauges, measure at the eighth fret the distance from the top of the fret to the bottom/underneath side of the string. Adjust the truss rod tension either up or down as necessary to get that measurement to about .004” or less (.001” or .002” would be better, but commonly available feeler gauges often go no lower than .004”). Release the capo, as this measurement is now complete. Now measure the distance between the strings and fret (again top of fret to bottom of string) at both the 1st and 12th frets. This may require re-slotting the nut to increase the depth that the string sits in the nut (thus lowering the string) and at the saddle if the saddle is not of the adjustable type that moves up and down as a whole. The measurements that will work best would be in these ranges: High E @ 1st fret = .015”; Low E @ 1st fret = .025”; High E @ 12th fret = .075”; Low E @ 12th fret = .095”. The other strings would be measured proportionately from low to high across the same frets.
The last measuring to be done is with an octave tuner. The sound produced by each depressed string at its octave (the 12th fret) should be exactly, tonally one octave above the open string sound. Since the nut is fixed, the only way to adjust for sharpness or flatness is at the bridge. If the bridge is of an adjustable type, individual saddle pieces can be moved fore or aft as required to bring the tonal values into symmetry. If the saddle is without individual adjustable saddle pieces, the saddle may have to be re-filed where each individual string meets it to create the correct position for the fulcrum point. Usually this will not be an issue, as most fixed-bridge saddles are fairly correctly crafted and set from the factory, but there is usually some “re-positioning through judicious filing” that is available as an option.
If the tone as tested for any given string at the 12th fret is sharp compared to the open string tone, that means the distance from the 12th fret to the saddle is shorter than the distance from the nut to the 12th fret, and thus the saddle must be moved back some to make the distances equal. Conversely, if the tone as tested at the 12th fret is flat compared to the open string tone, the distance from the 12th fret to the saddle is longer than the distance from the nut to the 12th fret (the 12th fret being exactly half the tonal distance from nut to saddle), and the saddle needs to come forward just a bit to be tonally correct. Adjustments in this range are just small fractions of an inch – maybe 1/32nd” or so. Re-filing a bone saddle to move the position of the fulcrum point forward or backward can be tricky and is probably best left to the repair guys unless you are handy with the tools.
If your guitar has a floating bridge, such as you would find on an archtop guitar, the adjustment is as simple as repositioning the entire bridge forward or backward as necessary. Strobe-tuners can give you exact measurements, but most important is your own ear. Trying to achieve absolutely perfect tonal balance is probably a waste of time, as there are too many factors that can affect it, but you can get something that is quite pleasing to the ear and makes your guitar easier to play and a better performer overall. That’s what we’re really shooting for, an instrument that is a pleasure to play. A guitar technician can do more things than the regular player can, but even the average player should not be afraid to tackle some of these things on his/her own. If you understand the theory as I’ve tried to lay it out, don’t be afraid to give it a shot. If you make mistakes, there is almost nothing that can’t be fixed or corrected, and make it a regular part of taking care of your instrument to periodically check these things as seasonal variations in humidity will make wood move around over time.